Hey logo designers today. I want to talk to you about exporting SVGs from logo package express, and some tips and tricks for dealing with the problems that can arise when using this file format.
So in order to export SVGs from logo package express, you simply need to go to the settings window and the formats tab. And from there you can pick whatever web file formats you would like including SVG. So when Logo Package Express exports SVG, we are using certain standards that can not be changed by the user. And I'm going to show you what I mean by that.
So if we go to file and export export as, and then we select SVG, this is the same process, essentially, that Logo Package Express is using to export SVGs. And the next thing that we want to look at is these settings, the most important setting to look at is the decimal place.
So an SVG is a vector file and the way that the web browser reads and interprets this file is basically just mathematical equations and the math doesn't always work out to nice, whole numbers. And therefore you're dealing with a lot of numbers that include decimals. We have chosen the decimal point setting of three, meaning the accuracy of the math equations is going to limit itself to three decimal places, as opposed to five or 10 decimal places.
The more decimal places you include, the more accurate the math will be, and the more accurate the render will be, but there are diminishing returns for accuracy versus what can even be displayed by the pixels. And there are also diminishing returns in terms of the file size. So a really great setting is three decimal points because it allows for accuracy, but it also keeps file sizes small. So this is the setting that we typically use.
Now, what does the resulting SVG look like? Well, for this particular logo — this exact specific logo at the exact specific size that it is — you can see that we have ended up with kind of a disaster here. It moved some anchor points, and in particular, some of the round shapes are not preserved perfectly.
So let me show you what I mean, this is the SVG artwork, and over top of it I'm going to layer the original artwork andI'm going to go into outline mode. When I go into outline mode, everything looks okay except for those anchor points. As we zoom in, we're going to see that because the math is limited to three decimal places, some of the curves are being handled a little bit differently. The output is different. The rendering is different than the original artwork.
Now this can't be avoided. So you might as well accept, right off the bat, that SVGs are not ever going to be 100%accurate to your original artwork, but it's okay because they don't really need to be. At the sizes that they're being viewed at they're going to look exactly the same, you know.
This logo, for example, if we ignore the big triangle and we just look at eco power. I'm going to turn off the top layer. This logo is only this big, so we're never going to see the difference between those, you know, millimeters or micrometers or whatever they are of difference between the shapes. But sometimes it's going to change things so much that you could tell the difference at the size you wish to use your logo at.
So if we have these problems with SVGs, what can we do to make them better? Well, if you are exporting manually, all you need to do is go ahead and play around with those decimal points settings, to change that to a four or five or lessen it to one or two. This is the way that somebody who is manually exporting can find the best settings for their particular, specific logo.
But with Logo Package Express, you do not have access to our settings for what is best by default for standard SVG export. So if you are looking at your files and you discover that there's something you really can't live with — a shape has totally changed, or like in this case, there's this misplacing of the anchor points — then what you want to do is pretty simple. Even if it's a little bit of a hack, all you need to do is to change the size of your logo just a little bit, because this is going to change the math, right? So simply by scaling this up just a little bit, and then going to File > Export > Export As using all of the same settings. And of course, what this is replicating is your export through logo package express. Then we'll see that we get an entirely different outcome. So now everything is totally messed up, right?
The only way to really fix this is with a little bit of experimentation. So what I recommend is either scaling up or scaling down your logo by a significant amount. So in this case, I will just scale up this logo. And when I go to file export export, as we're going to get a result that is much better. So you can see now that this doesn't have any of the misplaced anchor points and the rounding and that sort of stuff has been accommodated for as well.
In summary, the best way to fix these problems that happen with SVGs is simply to change the scale of your logo. So that the math that is using the three decimal point setting will work out just slightly differently. And it should fix any of the problems with anchor points being moved or with round shapes appearing a little bit different than your original artwork.
Ultimately, there's always going to be some difference between an SVG and your original artwork, unless your original artwork is a perfect square. So hopefully this will help you be able to quickly make changes that allow you to use logo, package, express, and get SVGs that are exactly what you are hoping for. Thanks.
Hey logo designers, today I wanted to talk to you about how you can work with logos that have overlapping shapes. In this case, there is type on top of a bottle shape. So let's make these logos and see what happens. When I make the logos, what's going to happen is that everything in the artwork has been colored to black or white or some variation thereof, and we're starting to lose the type.
Now, this is OK because actually nothing is gone. It's just colored incorrectly. So all we need to do is click in and make a selection of our type, turn it to white, and on the reverse version, do the same and turn the type to black. And now you can see our versions are back to the way we need them. The inverted version in this case is not required, so I'm not going to mess with it.
But if you ever see your logo come through where some of the shapes are on top of other shapes and they seem to be missing, just go ahead and click into the group and find the shapes and color them so that everything appears as it should.
And that's how you work with logos, with overlapping shapes. Thanks for watching.
Hey logo designers, today I want to show you how you can export components from Logo Package Express when they aren't locked up. So what do I mean by this? Well, in this example, "Cast" is a Logotype and cast represents the company in most places, but sometimes they use a symbol instead. And this symbol is never paired with the logotype. And also there's an outline version of the symbol. So these things are never meant to be locked up together.
Well, how can we export them from Logo Package Express quickly and easily? I'll show you. We just need to utilize the naming feature inside of Logo Package Express.
So I'm going to make a selection of all three of these pieces and click "Set Logo." Once these pieces are set, we can set them individually in the component windows. So I'm going to set this as the logotype. I'm going to set this symbol as the logo mark, and then I'm also going to set this outline version as the tagline. Now, it doesn't really matter how you set these because we're going to be changing the names anyways.
So now I'll make web logos and what we're going to see is a lot of variations that we don't need. And we're also going to see some names that don't really make sense. So let's first go to the settings gear up in the corner and go to the naming tab.
Now, inside of the naming tab, what we can do is we can change these names. logotype fits and Logo mark fits, but tagline does not fit.
So what we should do is we'll go to tagline and we'll put in "logo mark outline" and then I'll hit tab and you'll see that logo mark outline is now the name of this column. So what I'm going to do is delete all of these nonsensical combinations and what I'll be left with is a logo mark outline, logotype, and a logo mark. So now when I export web logos, what we're going to see is all of the artwork will be named exactly what we want it to be named, and none of the pieces are locked up.
So we have a Logo Mark folder, a Logo Mark Outline folder, and a Logotype folder. And as I open up these folders, you'll see that they're all getting the correct names and everything makes sense.
So once the export is done, you can run the print logos or whichever other variations you need to and then you're done. So this is how you can export logo components that aren't meant to be locked up from Logo Package Express. Thanks for watching.
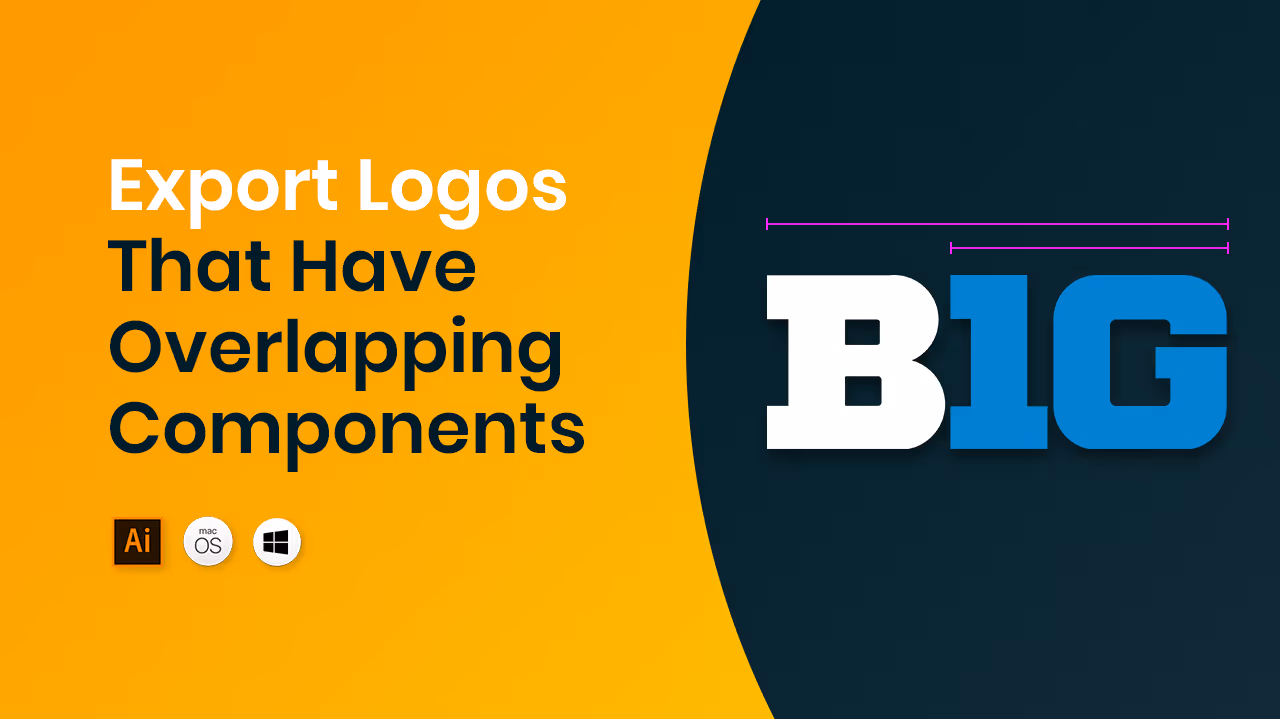
Hey logo designers, today I want to talk to you about how you can set a logo in Logo Package Express that has overlapping components. So what do I mean by overlapping components? Well, this Big10 championship logo says big, but it also has the Mark 10 inside of it. So we want to have this 10 as a symbol or an icon or logo mark separate from the "Big" that it is also a part of. So these components are overlapping.
There's a logotype and it's overlapping with a logo mark. So how do we deal with this inside of a Logo Package Express? Well, let's take a look at what happens when you try to work the normal way. So I'm going to go ahead and set the logo and then I'm going to set the different components. Right, so I've got this logo mark — I'll set that. I've got the Logotype and then I've got this Tagline. And so now I will make Web logos.
And what we're going to see is that we get the whole logo twice, the Logotype twice, and the tagline. So something has clearly gone wrong here. Well, let me explain what's happening when you set your components. So you'll remember that the first thing that happened was we set the logo mark. What Logo Package Express is going to do is it's going to make a group out of this mark and it's going to designate that group as the mark.
So then when we come in and we select the "Big" logotype, we've basically demolished that group and absorbed it into the logotype group. So now the extension doesn't have a logo mark group anymore. It just has a logotype group. And this can cause all sorts of problems as we see with the logos that were generated.
So in order to fix this, we're going to have to do a little bit of a workaround. So I'm going to restart this entirely. Ok, so before I set the logo, what I'm going to need to do is sort of hack the system. And to do that, I need to make a copy of the logo mark. So what I'm going to do is I'm just going to drag up a copy of the Logo mark. Now, I have three distinct components.
I have the mark, I have the Logotype, and I have the Tagline here. So what I'm going to do is set all of these pieces.
And this is going to look a little strange and the outcome is going to be a little strange, but it should work just the way you want it to. So now I will set the copy of the mark as the logo mark. I will set the "BIG10" as the Logotype and then "Championship" as the Tagline. And now when I make Logos, I'm still going to get some weirdness. But what you'll see is that we have the "BIG10 Championship" — the full logo here. We have the tagline if we need that. We have the logotype by itself, and we have the Logo mark. So now we can just delete all of these unnecessary versions.
And once those are deleted, you can go ahead and export all the components that you wanted from this logo, just as you would expect. It just takes a little bit of a workaround. So that's how you can set a logo with overlapping components using Logo Package Express. Thanks for watching.
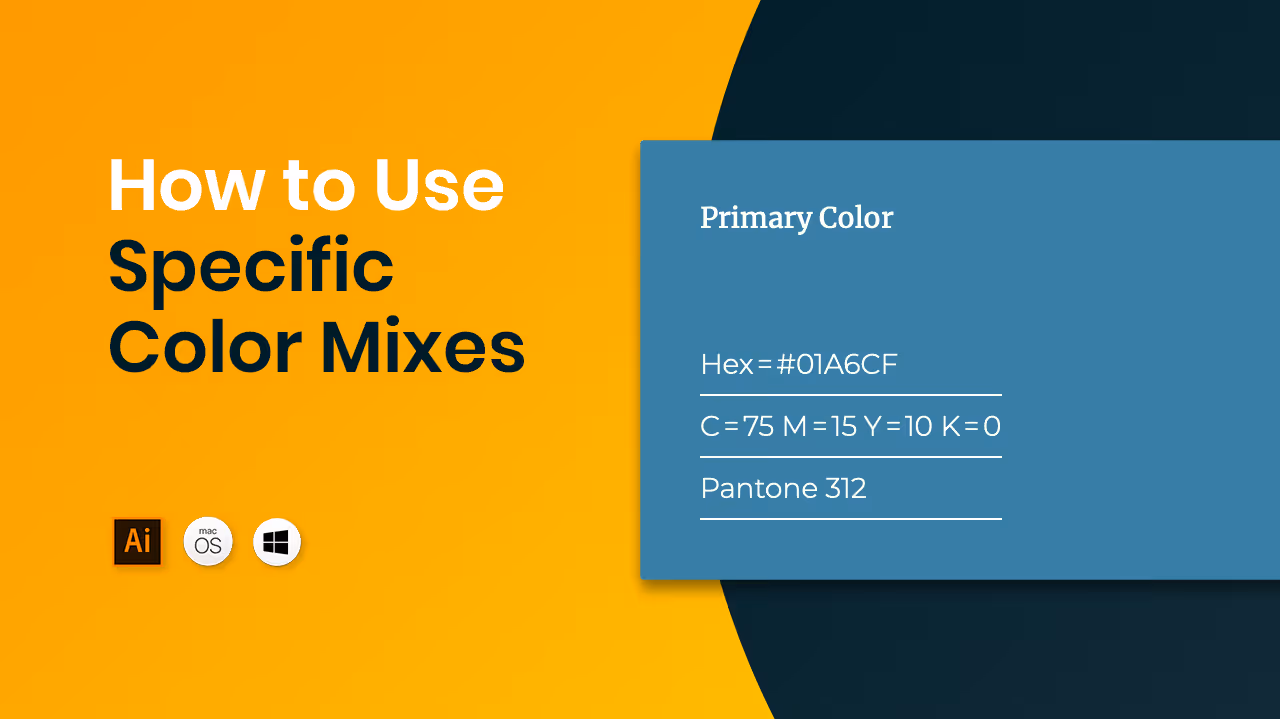
Hey logo designers, today I'd like to show you how you can set very specific formulas for your colors using Logo Package Express. Oftentimes you'll have selected your brand colors before you even open Logo Package Express to make your final logos. So how do we make sure that the colors that you have preselected are the same as the colors that Logo Package Express uses. If you have Pantone color selected my recommendation is to start with a logo that is colored with those Pantones.
So I'm going to go to my Swatch panel and I'm going to open the color books for solid coated.
I'm going to open Swatch Library > Color Books > Solid Coated and I'm just going to type in 187 and I'm going to drag in that swatch. 187 is the PMS specified for this logo. So I'm going to make a selection of all of the red parts and apply that Pantone color. Now I'm ready to set the logo, so I will press "Set Logo" and then I'll set the different components.
We have the shield and the logotype. Now, I will make print logos. And as you can see, Logo Package Express has saved that Pantone 187 C and reapplied it to our Pantone logos.
So the next thing we need to do is check our CMYK conversion. So I'll go back to the document and I'll copy over our guide into the working document.
OK, we're looking to have the CMYK mix of 5, 100, 71, 22. Well, fortunately, these swatches inside of Logo Package Express are all global swatches, meaning that if we make a change to the swatch, it will be applied everywhere inside of the working document. So I'm going to double click to open the swatch and I'm just going to put in the correct mix 5, 100, 71, and 22. And when I click ok, all of the artwork has been changed. And just to show you, this is now 5, 100, 71, 22 and so is this and so is the university logotype.
So now that these colors are correct, all we have to do is export. After the print export is done, click "Make Web Logos." And now we're going to want to check the RGB mix against our original colors.
So again, I will copy over this guide to our working document and I will take a look at the color swatch. And what I have is 184, 18, and 55. And that's not even close to our brand guides, so I'm going to open up the swatch and type in 153, 0, 0 and click "Ok." And now that gets automatically applied to our entire suite of logos and I'll double check just for good measure.
Yep. Everything appears to be using the new swatch. So this is how you can guarantee a specific color mix using Logo Package Express. Thanks for watching.
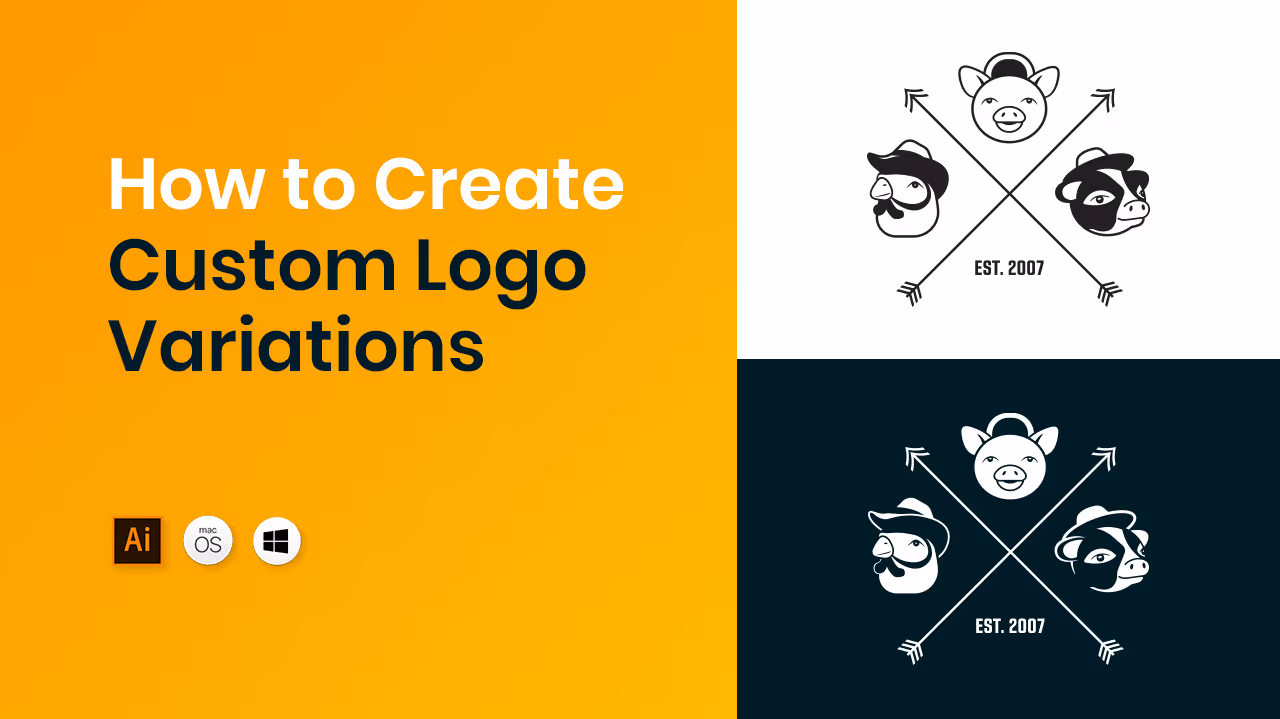
Hey logo designers, today I'm going to show you how you can export a logo package that includes custom variations for certain logos.
In this example there's a black logo on the left and a white logo on the right. And the black logo is different from the white logo. The black logo has outlines that connect. You can see that's totally different here. The cheek of the cow is a solid shape, whereas here it is a completely different shape. So these two logos are completely different.
Well, how do we work with that inside of Logo Package Express? I'm going to set the black logo first and click "Set Logo," and now I'm going to make logos. And what we're going to see is that the white version of this logo is totally different than what we had expected.
So back on the other document, I'm simply going to copy the custom artwork, come back into the working document for Logo Package Express, and I'm going to delete the artwork from the white artboard.
Now I'm going to paste, and with my control panel settings set to align artboard, I'm going to align this artwork to the center of the artboard after Logo Package Express has generated its variations.
It doesn't really care what is inside of the artboards. It will always export the artwork as you have it on the artboard when you click the export button.
So now all that's left to do is to delete the versions that we don't need and export. So this is how you can export a logo from Logo Package Express that has custom variations. Thanks for watching.
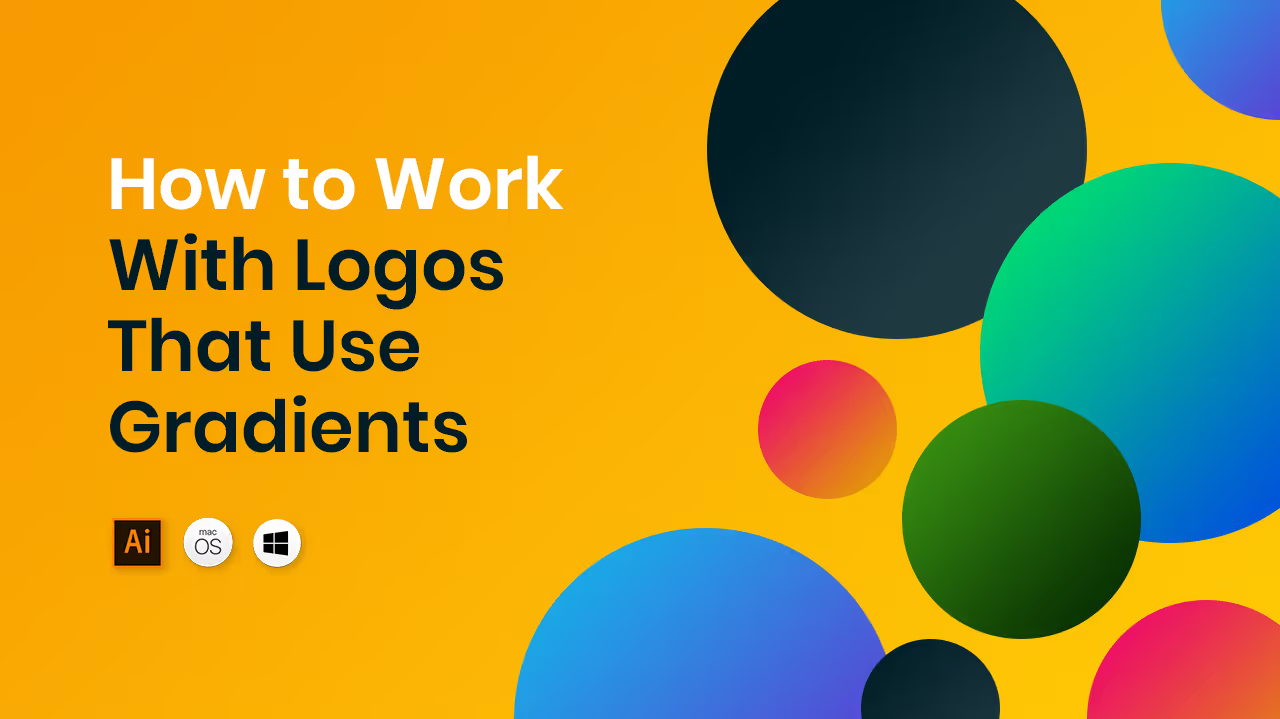
Hey logo designers, today I want to show you how you can work with gradients inside of Logo Package Express. So if you set a logo that has a gradient inside of Logo Package Express and you make print logos, you're going to get a dialog box pop up. And that dialog box is going to tell you that Logo Package Express does not convert gradients or patterns into Pantone and that you'll need to manually recolor the logos or exclude them from your logo package.
So I'm going to show you how you can do both of those things. I'll click continue and I'll go to the settings page and go to the color tab. If I uncheck uncoated and uncheck coated and then press "Make Print Logos," the options for Pantone are completely excluded and you don't have to worry about recoloring anything at all. This is a really great solution if you don't plan on including Pantone logos in your logo package.
Option number two is to manually color the Pantone artwork. And I can show you a quick and easy way to do that. I'm going to use the direct select tool, which is a on the keyboard, and make a selection of the gradient in all of the coated artboards. That's the inverted and the full color color logo.
Now I'm going to use a little known feature of Illustrator to recolor these gradients. I'm going to go up to the control panel and click this color wheel icon. This opens up the recolor artwork panel. If you don't see the color wheel in your control panel, you can always come up to Edit > Edit Colors and then choose "Recolor Artwork" from the fly out.
Back on the recolor artwork panel, we're going to go down to the bottom next to the sliders for color. There is this little grid icon and it says "Limit the color group to colors in a swatch library." We're going to open that, go to color books. And because we have chosen coated, we're going to go to solid coated. This is going to recolor the artwork, but limit it to the color book that we've selected.
So I will click "Ok." Now it has recolored these two pieces of artwork and you'll see that we have Pantone swatches out on the panel now.
Now I'm going to do the same thing for uncoated. I'll select both of the uncoated options. I will this time open by going to Edit > Edit Colors > Recolor Artwork. And I'm going to limit to solid uncoated and press, ok. And now all of my logos are recolored and ready to be exported. These are the two ways that you can work with gradients inside of Logo Package Express. Thanks for watching.
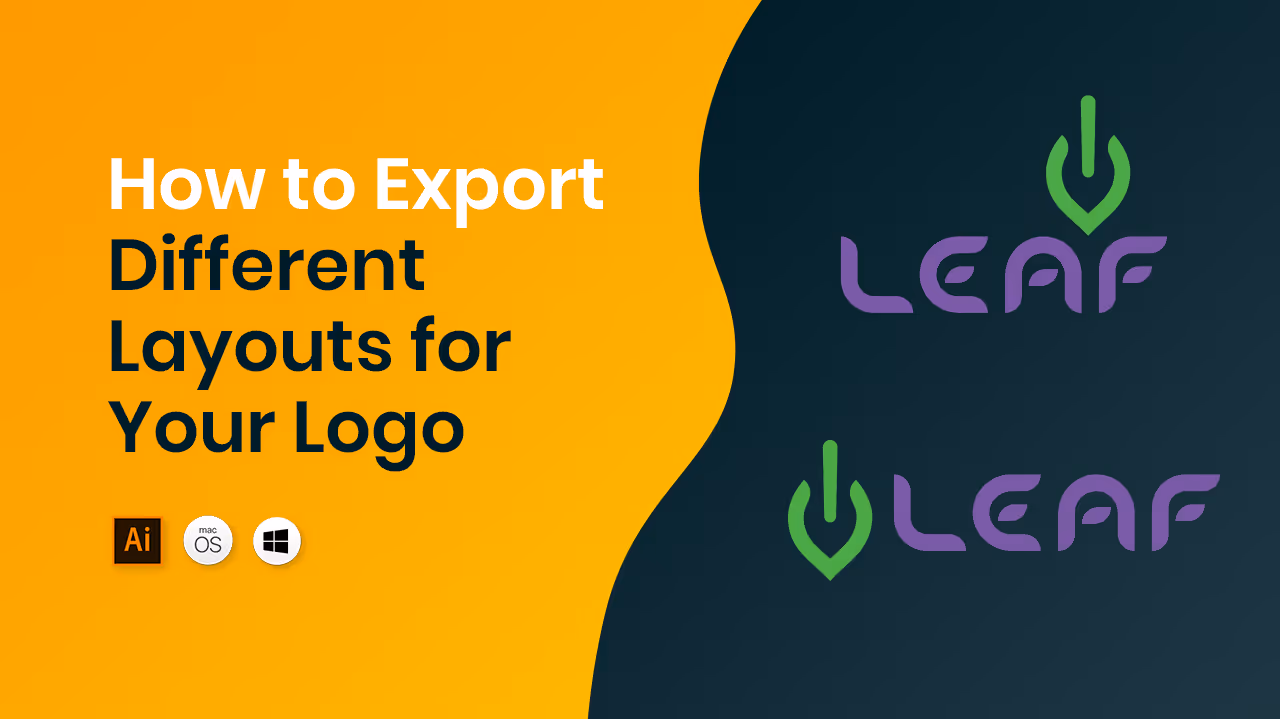
Hey logo designers, today I wanted to show you how you can export multiple layouts for a logo using Logo Package Express. This example includes a horizontal logo and a vertical stack logo. So let's use Logo Package Express to export both layouts of this logo. I'm going to start with the horizontal version of the logo. I'm going to go ahead and click set logo. Then I'm going to select the different components.
I have the logo mark and I have the logotype. Now, the Logo mark and the logotype are the same between both of our layouts.
There's a difference in size, but that's not really going to matter as far as the export is concerned. So I'm going to accomplish getting the mark by itself and the logotype by itself with this first horizontal export. So now I'll click make print logos and this will generate all of the different variations — just like I expected. I want to change the name from "logo" to "horizontal logo" so that organization inside of the package is easier at the end of this process.
So I'm going to go to the settings page and I'm going to go to the naming tab and I'll scroll down to where it says logo. And here I'm just going to put in "horizontal logo" and when I tab out, you'll see that the name has updated to say horizontal logo. And now when I export these print logos, that name will remain. So as we can see, these files are going to be generated and we're going to get a folder called "Horizontal Logo" because we changed that name.
Then we're going to get logo mark folders and logotype folders. And this should include everything that we want for the horizontal logo, the logo mark and the logotype. I'm going to export the Web logos as well and skip to the next part of the tutorial.
Now that all the horizontal versions of the logo have been exported, it's time to reset the extension and go back to our original artwork file.
So I will reset. I don't need to save this and I'll go back to the original file. Now I'll make a selection of the vertical logo, which is the only layout that we haven't accounted for.
So I will click set logo, and in this case I'm not going to set any of the other components because we already exported the logo mark, and we already exported the logotyp. We're just interested in getting this particular vertical layout. So I need to go back to the settings and change the name.
This time I want it to be called "Vertical Logo", so I'll change the name and click make print logos. And as you can see, it is now being called "Vertical Logo" and we are ready to export.
So when I click export print logos and go to that same logo package, you'll see that now we are getting a folder generated called "Vertical Logo." And once I go through and finish the print export and the web exports, we will have a complete package with both layouts.
So now let's take a look at the final logo package. We have a horizontal logo which contains the logo in its horizontal orientation. We have just the Logo mark. We have just the logotype, and we have the logo in its vertical orientation. So that is how you can export a logo with more than one layout using Logo Package Express. Thanks for watching.
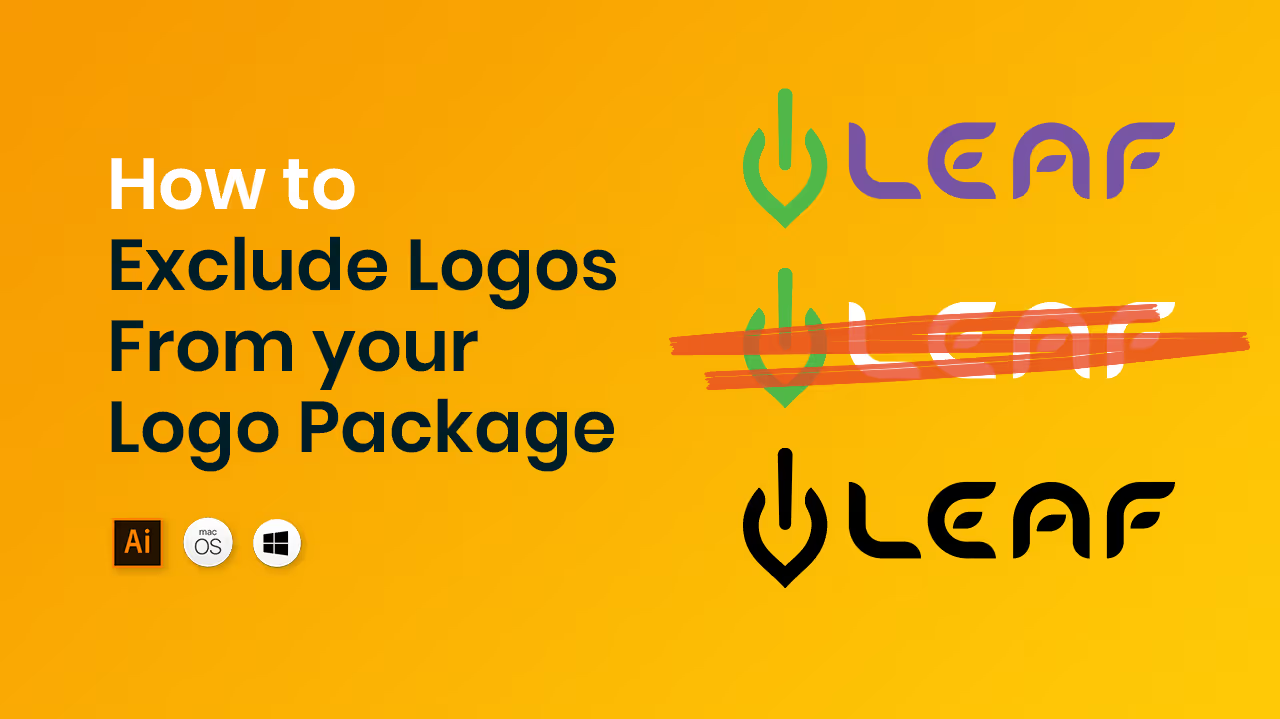
Hey designers, today I wanted to show you how you can exclude logo variations from your logo packages using Logo Package Express.
After you click make print logos or make Web logos, you'll be presented with a grid of logo variations. You can delete any logo variations you do not want and they won't be exported.
So in this example, let's say that I never want the tagline to be alone by itself. I only want it to be with the logotype or with the full logo.
So it's very easy. I can just select all of this artwork and press delete. I do not need to delete the artboards or anything else — just the artwork itself. Another thing I might want to delete are redundant logos. So you can see in the reverse options I have a white logotype and in the full color options I have a green logo mark. But when I come down to inverted, I have another white logotype and another green logo mark. These would be redundant and the files would look exactly the same.
The black background in the inverted versions is simply so that you can see the white artwork on these artboards.
So I'm going to delete these redundant options. Now, neither the tagline by itself or these redundant logos will be exported when I press the export web button. Let me show you another really common example where you might need to delete a lot of logo variations.
I'm going to reset the extension and I'm going to go to another logo.
This logo is all black and it is really only ever supposed to be this one color. So let's see what happens when we set this logo. I'm going to press set logo and I'm going to choose the logo mark and I'm going to choose the logotype. And now I'm going to make print logos. And what we're going to see is a ton of redundant options. So in this case, since nothing is really in color, I'm going to delete all of the color variations.
I'm also going to delete the grayscale versions because black is black — it doesn't matter if it's grayscale or not. And I'm going to delete all of the inverted versions because they are redundant. And also, I don't need Pantone for white. And lastly, the Pantone options are also irrelevant because black you can print as a solid black ink and you don't need a Pantone for it.
So this leaves us really with just our all black and all white versions. And this is totally fine. It's ok to delete all of these extra versions that are redundant.
So now when you click export print logos, only the relevant black and white options will be generated.
So that's how you can exclude logo variations from your logo packages using Logo Package Express. Thanks for watching.
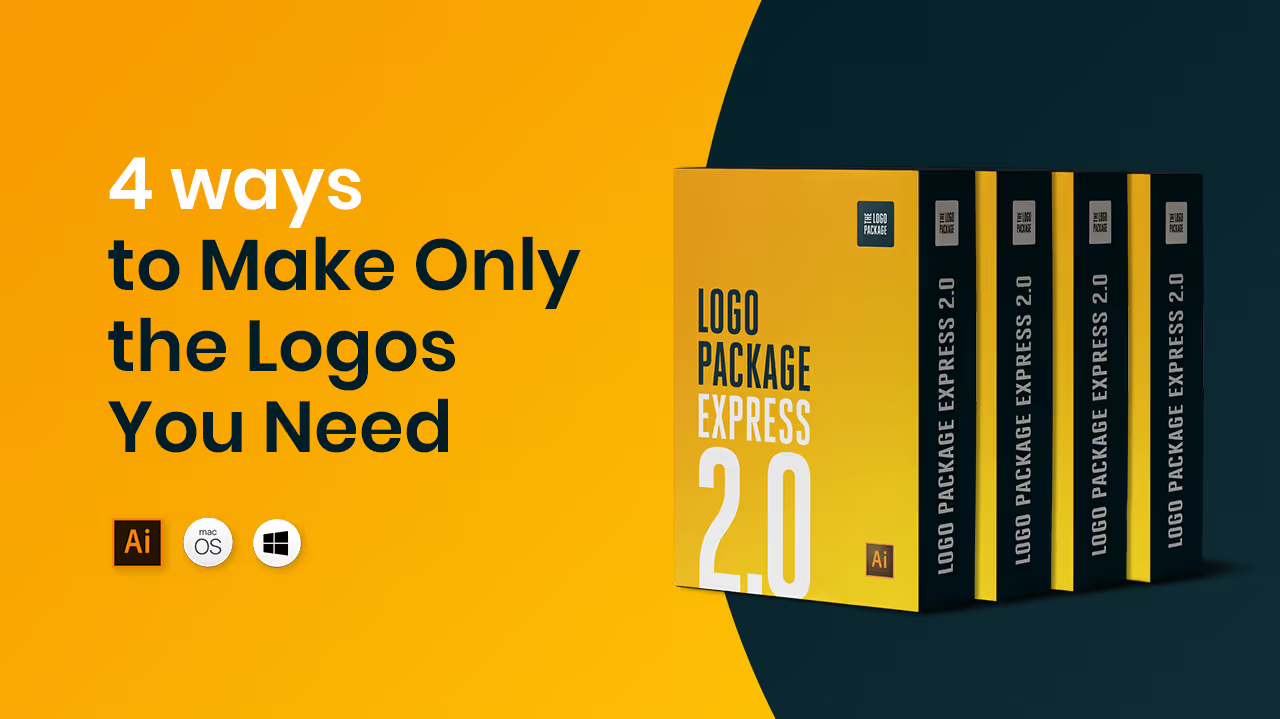
Logo designers, today I'd like to show you four different ways that you can use Logo Package Express to make logos. Open up a final logo file and make a selection of the logo artwork. Click set logo in the Logo Package Express extension.
From here, you're taken to the logo builder screen and this is the screen we're going to be focusing on in today's tutorial. The logo builder screen contains four different component windows.
There is the original logo that you selected and then three additional components that your logo may contain.
These components are logo mark, which is usually the symbol or icon logotype, which is the name of the company or organization typically. And then lastly, a Tagline component window.
The first example I'm going to show you contains all three of these components. So I'm quickly going to set them the logo mark, the logotype, and the tagline.
And now if any one of these pieces was a light color and you had trouble seeing it on the white background, you can click the icon in the upper left to switch this to a black background to get more contrast and see your component.
Additionally, if you selected a component incorrectly or don't really need the component, you can hit the trash icon in the upper right corner.
I'm going to keep the tagline selected. So now if I make Logos, you'll see that all of these components get generated in isolation and recombined with other components. We have the full logo mark, which contains all three components, the logotype with tagline, which is just those two components, the tagline by itself, the logo mark combined with the logotype, the logotype by itself, and the logo mark by itself. This is the most complex type of logo that you're going to generate. And in this case, all of these different uses have different applications in this particular brand.
But sometimes your logos aren't going to be as complicated. Let's look at a simpler logo. In our second example, we have a logo which just has a mark and a logotype. So I will set the mark and I will set the logotype. And as you can see, you don't need to have all of the different component windows filled in to generate logos. In this case, we have the full logo combined, the logotype by itself and the logo mark by itself.
But let's say that this client never intended to have the logotype by itself. Well, that's no problem. We can just delete the logotype from the component window. And now when we make web logos, you'll see that we generate the entire logo as well as the logo mark on its own, which matches what we have set in the logo builder screen.
The final example we're going to look at is even simpler. Here we have a logo that is just one component. We don't have a logotype. We don't have a Logo mark. So in this case, we don't need to even set any of the component windows. We can just go directly into making logos. And as you can see, Logo Package Express has followed what we have set in the logo builder screen.
So these are the four different ways that you can generate logos using the logo builder screen in Logo Package Express. Thanks for watching.