Hey, logo designers, today I wanted to talk to you about inverted logos and how you can get different results for inverted logos using the settings panel of Logo Package Express. An inverted logo is simply a logo where some of the elements are in color and some of the elements are in white. These types of logos are useful for putting on top of a color background or a photo. So let me show you some of the ways we can customize the inversion results using the color settings in Logo Package Express.
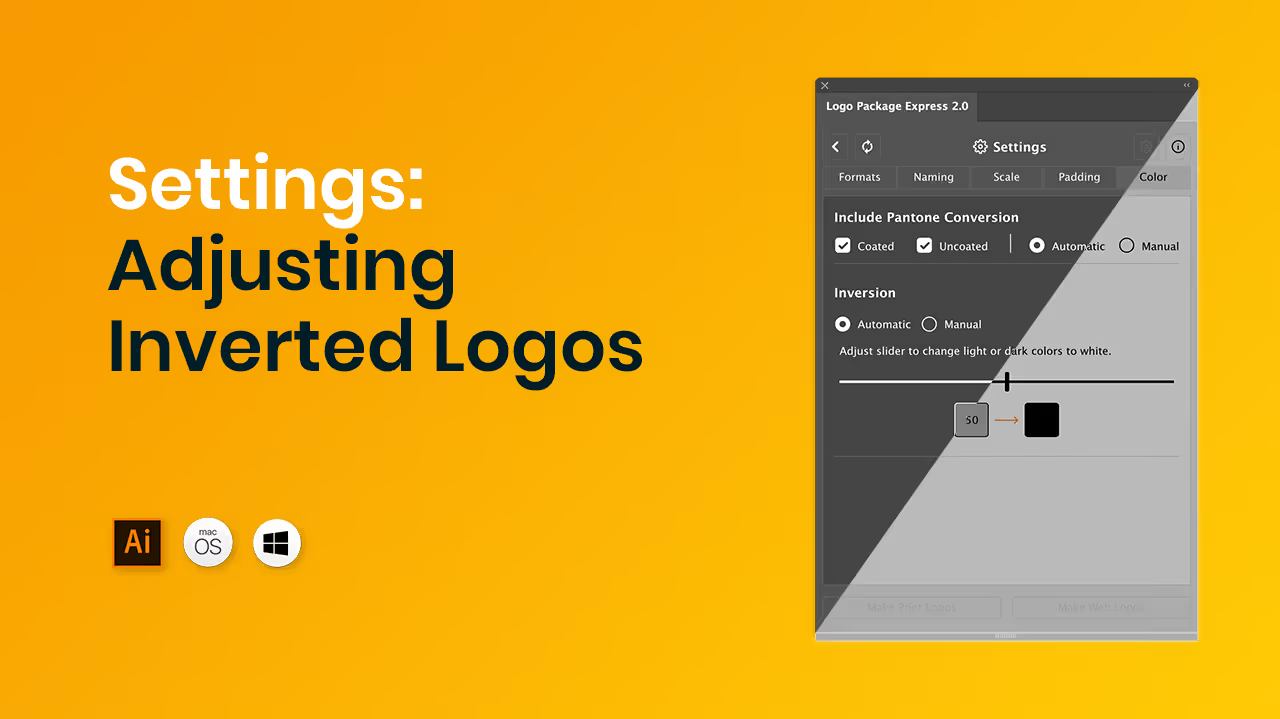
You'll want to go up to the upper right corner and click on the gear icon. From there, you'll want to go to the color tab. At the bottom of this window, you'll see settings for inversion and by default, automatic is selected.
Automatic inversion takes the logo artwork and keeps the Logo mark in color and changes all of the other elements to white. So whatever you've selected as the Logo mark will retain its color. And if you've selected a Logotype or Logotype and Tagline, those elements will all be turned to white.
But in some cases, you're going to want to have more control over what elements are white and what elements are not.
So back inside of the settings window, we can turn on manual. Let's see what happens when we generate logos with manual applied. I'm going to click make web logos. And now you'll see that there is a different result before the only thing that stayed in color was the logo mark, but now the logo mark and the tagline are in color. So how is this happening?
Well, this is because we have this slider here in the inversion settings and the slider works by allowing you to adjust what values of color will be converted to white.
So the value of a color is its relative lightness or darkness. If we look at the original color logo, there is a different value of the green than there is for the purple. And with the slider set to the middle with a value of 50, the purple color is dark enough to be changed to white, while the green color is not dark enough to be changed to white. So what happens if we change the slider? If we move the slider up, then none of these colors will be so dark that they will be able to be turned to white.
Let's make web logos and see what happens. In this case, none of the colors have been turned to white because none of the colors are as dark as the value that has been set. If we push the slider the other way, all of the colors will be turned to white. Let's see what happens. I'll click make web logos, and all of the components have been turned to white. This is because all of the colors are darker than our setting allows. So for this particular logo right in the middle is about perfect.
If I make the web logos, we'll see that the purple has changed to white and the green is still in color. And this is a pretty desirable look for this logo. So it will be up to you whether or not you want to rely on the automatic conversion and just keep the mark in color, or if you want to make fine-tuned adjustments by going to manual inversion. And those are the different methods you can use to make inverted logos inside of Logo Package Express.
Hey, logo designers, today I want to talk to you about how you can set very complicated or illustrative type logos inside of Logo Package Express, so the more complicated a logo is, the more shapes it has, the more paths, the harder of a time Logo Package Express is going to have processing all of those shapes so we can do something to kind of trick it into working faster. And in fact, if you tried to set this logo right now, it may seem like it's actually going to crash.
Illustrator So here's how we're going to do this.
We need to select all of the artwork and then drag up a copy.
OK, we have a copy of her artwork now, what we're going to do is we're just going to make sure that everything is filled black and after we've got it filled black, we're going to go to our Pathfinder, which you can open up by going to window and then Pathfinder. And then I'm going to choose the Unite option. And this is going to combine all of these things into a single shape. All right, great.
Now we're ready to set our logo, so we'll set the logo.
And what this is doing is it's making an artboard. That's exactly the right size as the logo artwork that we want to export.
And then you're going to go ahead and make print logos or web logos, depending on which files you're trying to make first. And then we're going to generate all the artboards.
OK, perfect. Now, a principal of Logo Package Express is that anything that's on these artboards will get exported so you can make any edits you want. You can make changes, delete things, add things, anything you need to do to get your logos correct before you export.
So what we're going to do is go back and make a selection of our original artwork, copy it, come into the working file and delete every variation. That isn't the full color variation, because this logo, I'm really only concerned with getting the full color version. So I'm going to delete that as well and then make sure that you select the full color artboard paste in.
And then I'm going to just use the center vertically and horizontally options from the control panel.
And now the logo is inside of the artboard and it's ready to be exported. So this logo will now be exported with all the files in the naming and everything else that you've set up inside of your settings. And then you can go back and do the same thing when you generate your other set of logos. This will get you a full set of logos for really complicated or illustrative artwork inside of Logo Package Express. Thanks for watching.
Hey, logo designers, today I wanted to show you how you can use Logo Package Express to export square logos for social media avatars. So as you can see, I've already exported these logos for the web, but now I want to make them square so that we can post them to social media. So how can I do that? Well, I'm going to use some of the settings in Logo Package Express to make this effect.
So what I'm going to do is firstly I'm going to go to the naming tab and under the naming tab, I'm going to change the logo to social media.
And the reason I'm changing this name is because I want the logos to be exported into a folder called Social Media with the name social media in the logo files. So that's why I'm renaming this. And if I click make Webelos again, you'll see that the column is now called Social Media. So the next setting I'm going to go into is the padding setting.
This logo is one hundred and four pixels wide. So what I'm going to do is I'm going to unlink the padding setting here and on the left I'm going to add 20 pixels and on the right I'm going to add 20 pixels. And so that has created a width of one hundred and forty four pixels.
This logo is 34 pixels tall, so I need to add one hundred and ten pixels to the height and I will split that in half and put fifty five pixels of padding on the top and fifty five pixels of padding on the bottom.
And now if I were to draw out a rectangle, you'll see that this is a perfect one hundred and forty four by one hundred and forty four square.
So the last setting that I need to change is the scale. I want to make sure that these are big enough for social media. So I'm going to set a width of nine hundred pixels and that will be good for most social media profile images. So now I'm ready to export and I'll click export web logos. And what you'll see is that a new folder is generated called Social Media that contains all of our social media sizes. We have a JPEG here of 900.
It's perfectly square. PNG as well in all of the different color formats. Now, of course, if you didn't want all of these different color formats for social media, you could simply delete them before exporting.
This is the first method for creating square social media avatar logos using Logo Package Express. But there's an even easier way to do this that doesn't include any math.
So what I'm going to do is I'm going to restart and I'm going to go back to the artwork file.
And in the artwork file, I can simply draw out a square. And when I create the square, I'll send it to the back and I'll make sure that my logo artwork is centered within it. So I'm just going to center this horizontally and vertically.
And now I can just set this whole piece of artwork as my logo and that's going to bring it in as a square to begin with. So now all I have to do is click make Web logos and I'm going to get those square artboards by default because the artwork that I am converting is square. Now, some of these are filled in completely. And that's because we do have a square shape here. So all you need to do is grab the direct select tool by pressing A and just grab that rectangle on every one of these artboards and press delete and you'll see that the artwork is back to normal.
And now when you export, you will have perfectly square logos and they will be set to the scale you've set up under the scales tab. So these are the two methods for exporting square social media avatar logos from Logo Package Express. Thanks for watching.
Hey, logo designers, today I'd like to talk to you about how you can use Logo Package Express to convert your logo colors into Pantone. As you can see, I have generated a suite of print logos from Logo Package Express, and in it we have our full color logos, but we also have some Pantone versions.
So if we go down here and take a look, we'll see that there is a Pantone coated and a Pantone uncoated version of our full-color logo, as well as of our inverted logo. So let me show you how to set this up.
You'll need to go to the settings page in the panel by clicking the gear icon in the upper right corner. Once there, you'll need to go to the color tab. The first set of options under the color tab is the Pantone conversion settings.
On the left, we have checkboxes for whether or not you'd like to include coated and uncoated Pantone swatches and whether you'd like Logo Package Express to automatically convert your colors or if you would like to apply colors manually. In this current example, I've used our automatic conversion and let's see how closely it matches. I'm going to grab the Pantone coated option and I'm just going to drag up a duplicate for comparison to our original full color logo.
And if we zoom in and take a look, you can see that this is a really nice, really close match and you can expect really good matches from the automatic conversion that Logo Package Express does. But maybe you have a Pantone coated book and you've gone through and picked out really great matches for your colors. What do you do then? Well, you have two options.
And one is to use the manual conversion in the settings. So I'm going to undo this copy and I'm going to go over to the settings and I'm going to click manual. Now, I will go down to make print logos again. Because I've chosen manual Pantone coated version, a pop up is going to appear telling me I need to recolor my logo's, so I'll click continue. And if we take a look at our Pantone coated and Pantone uncoated versions and the bottom two rows, you will see that these logos do not have Pantone colors applied.
And in fact, there are no Pantone swatches in this file. So with manual mode applied, you would have to come in and open up Swatch books and recolor these logos to the swatches that you've chosen.
That's method number one. Method number two is to use the Pantone first workflow inside of Logo Package Express. Let me show you how it works.
I'm going to go back to the Settings panel and change the Pantone conversion back to automatic. Now, I've prepared another file and this file is using Pantone colors already.
You'll see that we have 360 C picked for our green and we have 7677 picked for our purple.
Those swatches are already applied to the artwork.
So instead of setting a logo with CMYK colors first or RGB colors first, we're going to set a logo with Pantone colors. First, I've reset the extension and now I'm going to make a selection of this logo and set logo. And as you can see, the new working document has retained that 360 C and 7677 C Pantone colors that were applied to the artwork and now when I click make print logos.
You will see that our Pantone coated version and our Pantone uncoated version have both retained the colors that we selected in our previous document, the 7677 and the 360, and for the uncoated versions, which were not in the original document. As you can see here, we don't have any uncoated. For the uncoated, we are just using the same number as the coated swatches, so this is another method for getting your Pantone colors into Logo Package Express.
The last thing I want to show you is if you uncheck uncoated or coated, those options will simply not be generated. So let's uncheck and click make print logos.
Now, you can see we only have Pantone uncoated variations and Pantone coated has not been included. If we uncheck uncoated and check coated and then go to make print logos, you'll see in this case, uncoated has been excluded and only coated has been included. Lastly, you can uncheck both options and not worry about Pantone at all.
If you're deciding not to provide your clients with Pantone colored logos. So if I click make print logos, you'll see that Logo Package Express does not generate any Pantone options. So those are all the ways you can work with Pantone inside of Logo Package Express. Thanks for watching.
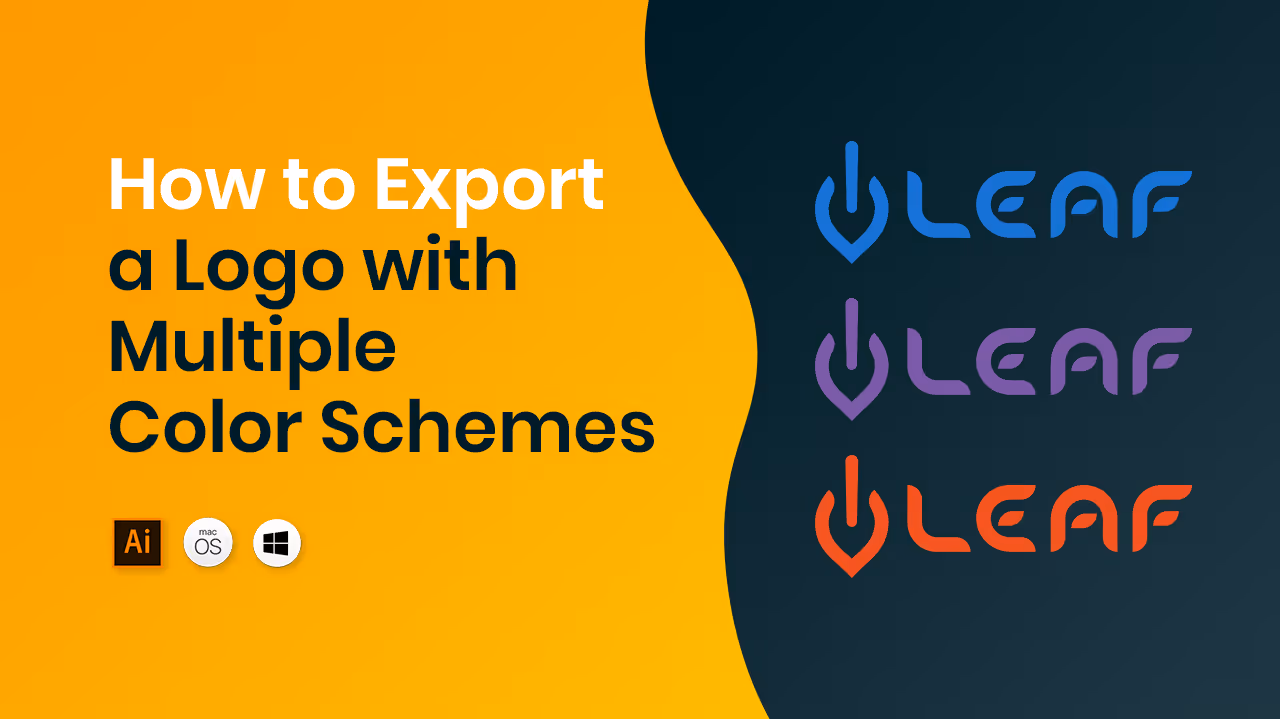
Hey Logo designers, today I want to show you how you can use Logo Package Express to export a logo system that has more than one color scheme for the logo. This is a fairly common practice when a brand has many different brand colors. In this example, I have the standard logo, which is green and purple, but I also have some alternate logos that are all purple and all green.
So I'm going to show you two methods for how you can set up a logo package that includes all these variations using Logo Package Express method. Number one is to simply run the extension multiple times. So I'm going to select the original standard artwork here and click set logo. And now when this is done, I will click make Web logos. You could, of course, set the different components, but I'm going to do just the original artwork for ease of demonstration.
Everything looks good, so I'm ready to export. I'm going to create the logo package and I'm going to get a folder in here that's called "Logo," and this is exactly what I would have expected. Now I need to go back and reset the extension by clicking the reset button in the upper left corner of the extension. And I will say that I don't want to I do want to begin a new package and I don't need to save the information that's already here. Now, I will go and make a selection of the all purple logo click set logo.
Before I make the logos, I'm going to go to the naming tab in the settings page and I'm going to scroll down to the logo field and type in purple logo. This is because I've already got a folder named "Logo" and I want the purple logo to be exported into a new folder called "Purple Logo."
I'll make the web logos and then the second thing I need to do is to delete all of the other variations that aren't the purple variation.
I'm deleting these because we already exported them in the original logo artwork. Now I'll click export web logos. And I get a new folder generated that's called Purple Logo that contains only the artwork for the purple logo.
And lastly, I'll repeat this step one more time by resetting the extension, making a selection of the green logo, setting the logo, going to the naming tab, changing purple to green, and making the logos. I will delete the redundant versions and click export web logos.
And now I'll get my third and final folder, which contains the green logos.
This is the first method for exporting multiple logo colors from Logo Package Express, and I recommend using this method only if you have several different logo colors, maybe four or five. I'm going to delete these folders now and show you a second easier method for our particular example here.
The second method for exporting logos that have multiple color variations is good if you have three or fewer different color options. What we're going to do is select the original artwork and press "Set Logo."
Now we're going to make our logo variations and now we're going to sort of hack the artboards to make the export generate the logos that we want.
So for this particular example, I don't really need a grayscale version and I don't need an inverted version. So I'm going to delete those logos and replace them with our color options from the other document. So I'll grab the purple version. Copy it and I will come over to the grayscale artboard and use the shortcut Shift + Command + V on a Mac or Shift + Control + V on a PC to paste that artwork in place. And I'll do the same thing with the green logo.
Now we have the proper artwork, but the names are all wrong. So let's go to the naming tab on the settings page and scroll down to the color schemes option. The grayscale is currently purple, so I'm going to call it "Purple."
The inverted is currently green, so I'm going to call it "Green." The reverse is white, so I'll call it white and one color I'll call black. And now we're ready to export these logos based on their color schemes. So I'll press "Export Web Logos."
Now, when this folder comes in, we're going to see "Logo" and then the sub folders are all going to be based on the colors that we've chosen. So if I open up everything, we'll see that the "Black" logo is black. The full color logo is the full color. The "Green" folder contains green logos, "Purple" purple logos, and lastly, our white logo.
So those are both of the methods that you can use to export multiple color variations from Logo Package Express. Thanks for watching.
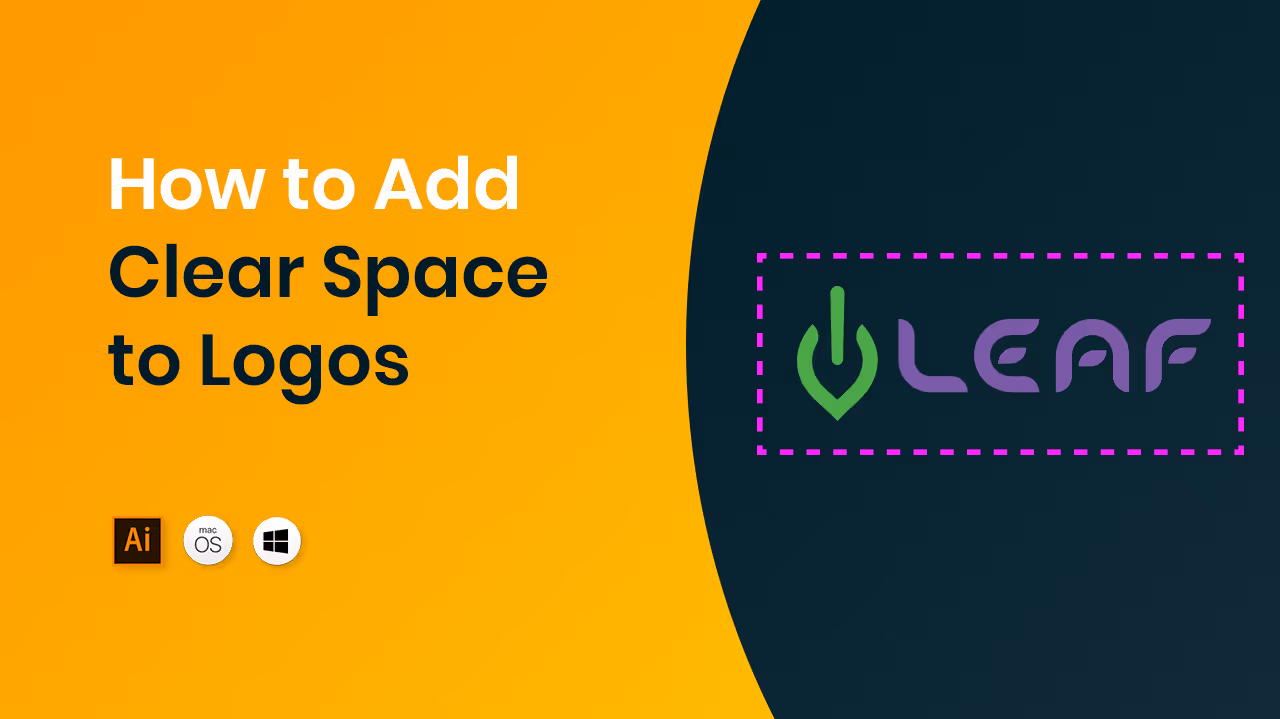
Hey, logo designers, today I'd like to show you how you can add padding or clear space to your logos when you export them from Logo Package Express.
In order to add padding, we need to go to the padding tab in the settings page to get to the settings. You can go to the upper right corner of the panel and click the gear icon. There are several tabs here, but today we're going to be looking at the padding tab in order to add padding.
All you need to do is come down to the fields and enter the amount of padding that you would like to include.
I'm going to do 20 pixels and instantly you can see that the padding has been applied to all of the artboards. You may want to apply padding unevenly or in different amounts on each side of your logo. In order to do that, you just click the link icon until it's broken. Then you can add custom amounts for anything you want. Really? I'm going to change it back to the way it was before. I'll turn the link on and I will put in 20 pixels.
You can change the unit for your padding by going to the unit dropdown and choosing any of the available units. Let's say we wanted to add one 3p to each side. This is in picas.
I've entered it and it's automatically updated on the artboards.
One really common way for determining clear space is to use an element of the logo itself to figure out how much space should be allowed around the logo. In this example, I've used the "L" from the Leaf Logotype to make sure my padding is correct. All I need to do is select this element and copy its height. Once I do that, I can return to the logo package working document and I can set this to pixels and put in the height that I just copied from the other document.
I will paste that in and check to make sure that everything came out correctly. So it's great on top, I rotate. It's good on the sides. And lastly. It is accurate on the bottom. So there you have it, that's how you can use Logo Package Express to add padding to your logos. Thanks for watching.
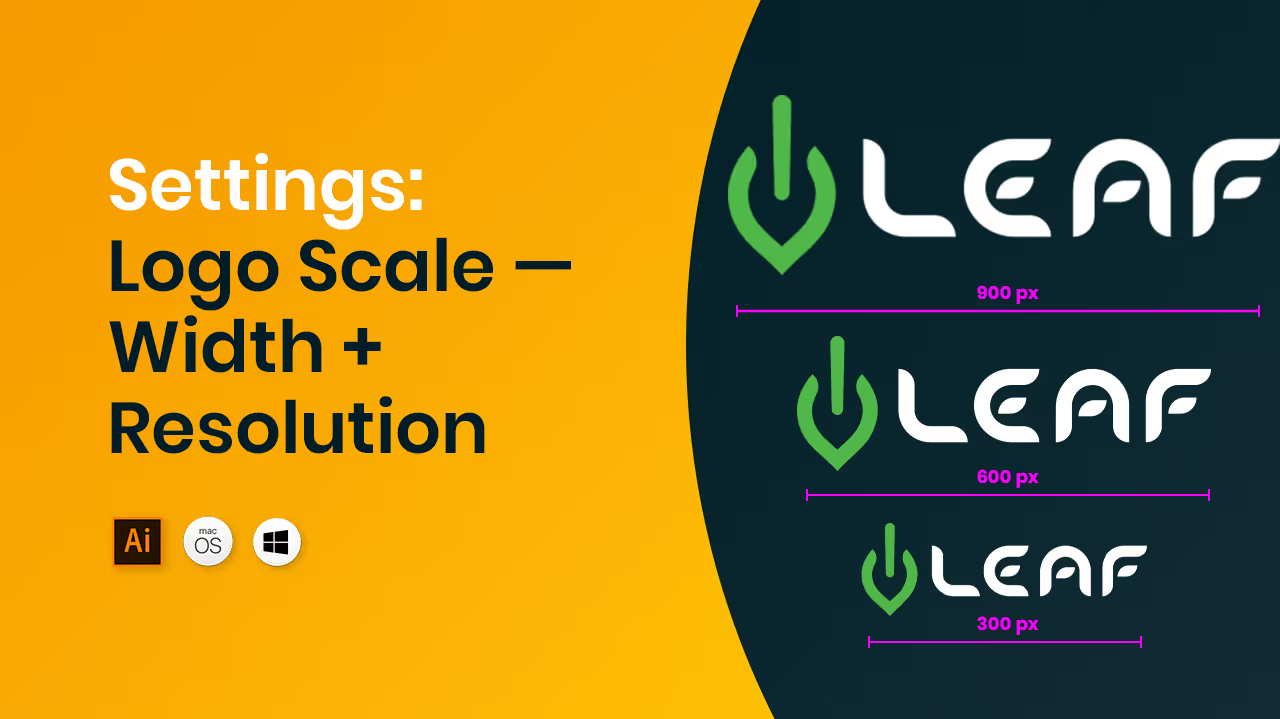
Hey, logo designers, today I wanted to show you how you can export your logos in a variety of sizes using the Scales tab in the Settings panel of Logo Package Express to go to the settings, click on the gear icon in the upper right corner of the Logo Package Express extension window. On this page, you'll see a number of tabs for different settings. But today we're going to be focusing on the scale. Tab Logo Package Express brings your logo artwork in at the exact same size it was in your final artwork file.
And when it exports vector versions of your logos, the Adobe Illustrator files the PDF and EPS. It's going to use that same width because vectors are scalable and it's assumed that you designed the logo at the size you wanted.
So when we change the width in the scale tab, we are only changing the width for JPEG and PNG exports. There are two areas to input a custom width for your logo files. There are web scales and print scales and these will affect the files exported for your web files or your print files. According to which area you choose to set, scales and print scales will only be exported if you have JPG checked under your print file formats in the formats tab of the settings.
Now back to the scales tab. The default width for both web scales and print scales is going to be the same width that your final logo artwork was.
But you can update that to be anything you would want and you can add multiple scales under both the web scale section and the print scales section. So let's go ahead and do that. I think I'd like to have three scales for my web scales, a small size of three hundred pixels. A medium size of six hundred pixels and a large size of twelve hundred pixels. And while 72 is the preferred resolution for the Web, sometimes you're going to want to export files that are twice as big for retina screens.
So you can also update the resolution. For example, I'm just going to make our six hundred pixel wide logo mark one hundred and forty four resolution, which is twice the standard web resolution. And then I'm going to go high resolution for our large logo. For print scales I'd like two settings and I'm going to change the unit.
Instead of pixels, I want to be exporting these in inches. I would like two sizes, one at three inches and another at six inches. The resolution on print scales is locked at three hundred PPI because in order for a file to be printed, it needs to be high resolution. Again, the only file format that will be available for print files is JPEG. The reason that there's no PNG option under print file formats is because PNG is a web-only file format and it can only be saved in the RGB color space.
In order to print your logo files, you need them to be in the CMYK color space. And the only raster-based file format that supports that color space is JPG. So all of the scales that we have set under print scales will be exported. High resolution in the CMYK document color space. So let's take a look at what the files that are exported with these scales look like inside of our logo package.
If I open up one of these folders, we can see that the file naming convention has been applied that shows the width, the unit and the resolution in each file and that our JPG and PNGs for web have been exported and our JPG for print have been exported. And in case you're skeptical about Adobe Illustrator's ability to export raster files correctly, let's open these up in Photoshop and see if the settings are correct. Here inside of Photoshop, I can check the width and resolution of a file by looking at the image size window and I can open it by going to image > image size or using the keyboard shortcut Option + Command + I on a Mac or Control + Alt + I on a PC.
So let's do a little comparison. Our file name says that this file was supposed to be exported at six inches with three hundred PPI. If I change the unit inches you can see that we have six inches and our resolution is three hundred. So that worked perfectly. Let's cancel this and look at another file. What about one of our web files? This file was supposed to be six hundred pixels at one hundred and forty four PPI so let's open up that image size window again by doing Option + Command + I on a Mac or Alt + Control + I on a PC.
And let's bring that over for comparison. We have six hundred pixels and one hundred and forty four resolution.
So as you can see the exports from Illustrator using Logo Package Express come out perfectly, and that's everything you need to know about exporting custom scales from Logo Package Express. Thanks for watching.

Hey, logo designers, today I'd like to talk to you about how you can change and customize the names of the files and folders that are exported from Logo Package Express using the new naming tab in the settings. To open the settings, come to the gear icon in the upper right of the extension panel window, from here you'll see a number of tabs and today we're going to be focusing on the naming tab. The first settings you come across will help you establish your naming conventions within the files and the folders themselves.
Do you want dashes between the words? Do you want the words to be lowercase or uppercase? All of these things can be changed for both folder names and file names. And for your convenience. You can see a live example of how these files and folders might look with the current settings applied. I'm going to change back to the default because this is my preferred way for saving files. Immediately below these settings, you will start to see all of the fields that you can input custom names for literally every word that makes up the names of the files and folders that Logo Package Express exports.
Let's look at a really popular example. Currently, the all black version of the logo is called One Color, and the all white version of the logo is called reverse. Even though this language is fairly standard for designers, sometimes clients find it confusing. So let's go ahead and change it to something that they'll understand under color schemes. We have one color and reverse. All we need to do is type in our preferred name. So for one color I will type in black and for reverse I will type in white.
And you can see that on the fly. The pasteboard has been updated to reflect our changes.
There are also several ways to describe the Logo mark some people call it a symbol so I can change it to symbol.
Some people call it an icon.
Anything you want to name these files is totally up to you. Whatever changes you make will be reflected when the files export in both the folder names and the file names. Another very common example is the spelling of the word color in American English. Color is spelled "O U R" and in the UK. In other English-speaking countries, color is spelled with a U. Logo Package Express should detect your language settings automatically and update that spelling for you. But if your Adobe Illustrator preferences are set to American English, then you might want to change the spelling under the naming tab.
So let's just take a look. All right.
As you can see, we've updated the word color to our preferred spelling. The sky is quite literally the limit here. And you can change these names to anything you want. You can even change the language entirely by translating all of these fields into your preferred language. I hope you get a lot out of this customizability feature. And thanks for watching.

Hey, logo designers, today, I would like to show you how you can customize what file formats are exported from Logo Package Express using the settings, the settings can be found by clicking the gear icon in the upper right corner of the Logo Package Express window. There are a number of tabs in the settings, but the first tab is the formats tab and this is what we're going to be focused on today.
So there are two columns. There are print file formats and web file formats. And that's because with Logo Package Express you can export logos for print and logos for use on the web. The print file formats are Adobe Illustrator, PDF, EPS and JPG and by default, EPS and JPG are unchecked. So if you want EPS or JPG file formats in your logo package, you will have to come to this tab in the settings page and check those two file formats.
The reason that JPG and EPS are unchecked by default is because EPS is an older file format that doesn't get requested as often as it used to and it takes a while to export.
JPG are unchecked because usually, a printer is going to want either a PDF, an Illustrator file or an EPS file first before they would ask for a JPEG. But occasionally clients will ask you for a JPEG for printing. And in order to make sure that these JPG are print-ready, they will be exported at three hundred PPI, which is high resolution for print and they will be exported in the CMYK color document mode. For the web file formats we have Adobe Illustrator SVG, PNG and JPG.
The Adobe Illustrator files are not meant to be put on a website, but they can contain RGB information for designers who need to make additional web files. An SVG is a scalable vector graphic format for the Web. SVGs can be scaled up or down to any size without losing resolution. And then there's classic PNG and JPeG. These are your two raster file formats and they are the most common file types for the web. You must always have at least one of these file formats in each column checked in order to export files for either print or web.
But this tab in the panel gives you complete customizability over whatever file formats you want to include. Just check what you need and uncheck what you don't need and you'll be ready to export your logo files.
Hello, good designers, today I wanted to give you a complete overview of the Logo Package Express extension and show you how to use it. If you've just installed Logo Package Express and you don't see the extension window open on your screen yet, you'll need to go up to window extensions and then choose the newest version of Logo Package Express from the dropdown window.
If you're opening Logo Package Express for the first time, you're going to be asked to enter the email you used to make your purchase and then the license key that came with your download afterwards, you should have complete access to Logo Package Express. The first thing you need to do after you've opened the extension is to open a logo file that contains your final logo artwork.
Then you'll simply make a selection of the artwork, go over to the panel and click set logo.
When you click set logo, a new document is made that brings in your artwork at the exact same size it was in your original artwork file and maintains the colors that you had in your original file.
You can see we have swatches down in the swatches panel.
The other important thing to notice is that we have maintained the document color mode. You will see that the document color mode in the original was quick and our new working file is also in quick document color mode. The next step is to set all of the individual components that make up your logo inside the logo builder window of Logo Package Express. You'll see that we ask for a Logo mark, Logotype and a Tagline. You don't need to include all of these components if your logo doesn't have them.
But please set the components that are included in your logo. In this example, we have a Logo mark, which it could be a symbol or an icon, but it's usually the graphic element of your logo.
Then we have a Logotype, which is simply the name of the company or organization.
So I'll click set Logotype in the Logotype area and then I will select the eco power component and set that as Tagline. OK, so I've made a mistake when I select the eco power and I forgot to include the R. That's all right. I can go up to the trash icon in the upper right corner of the thumbnail, press it and now I can go back and reset this entire component. If for some reason you have a really light colored component, you can also come up to the upper left corner and press the invert button.
And this is going to switch the background to a dark color so that you can better preview your lighter artwork.
Before I move on with making logos, I'm going to give you a brief overview of the settings.
So if you come to the upper right corner, there is a gear icon that is your settings page. When you click it, you'll be presented with a number of different tabs. The formats tab allows you to select which logo file formats you want to export. Your logo package with under the print file formats and JPEG are unchecked by default because they are less common file types for printer files. All of the web file formats are checked.
In order to change this, all you need to do is come in and select whatever file formats you want to include or exclude. The naming tab is where you can control the file and folder names for your Logo Package Express.
In this section we have all of the options you could ever want to totally customize your logo, package, file and folder names. You can even export your logo packages in an entirely different language, if that's what you'd like to do in the scale tab. We have the ability to choose custom widths for our JPEG and PMG exports. Under the padding tab, you have the ability to add padding around your logo. And lastly is the color tab where you can control Pantone conversion and your inversion settings for logo options that are partially in color and partially white.
You can now make your logos from the settings window, but I'd like to go back to the logo builder screen just so I can get a preview of everything that's about to happen. Since the original artwork was set in the CMYK document color mode, we recommend that you make print logos first.
If your logo had been created in the RGB document color mode, then we would recommend that you make web logos first. So I'm going to go ahead and press the make print logos button and you will see that it automatically generates a whole suite of logos for us in the blink of an eye.
The logo variations are arranged in columns which contain the individual components and component combinations and also into rows which contain the different color schemes. So we have the full logo with the Tagline, the Logotype, with the Tagline, just the Tagline, the Logo mark with the Logotype, just the Logotype and the Logo mark. And then for color variations, we have a one color option which is all black, a reverse option, which is all white grayscale, which is black and white.
And then this is the inverted option, which I was talking about in the settings. This option has some elements in color and some elements in white, and then we have our Pantone colors. The following two rows are the Pantone coated and Pantone uncoated variations of our inverted logo, and then lastly, the Pantone coated and uncoated versions of our full color logo.
It's very easy to control which logos get exported into your logo package. If you don't want a variation in your logo package, all you need to do is delete the artwork from its artboard. So let's say, for example, that we did not want the Tagline to be exported at all. All I would need to do is select all of those logos and press delete.
You may also want to delete redundant logos so you can see that in our inverted versions we have an all white Logotype and we already have an all white logo.
Type in the reverse section, so what I'm going to do is I'm going to delete all of these redundant variations as well, and then I won't have logos that are the same in different folders.
Any changes that you make to Artboards will get preserved and exported when you export your logos from Logo Package Express, for example, let's say on the grayscale that I would rather have a little bit lighter of an icon so I can select the icon and I can adjust the color.
Let's say I wanted this to be 25 percent black. OK, so now I've changed the color on all of these artboards and they will be exported with the changes included. Exporting your logos is very simple.
Press the export print logos, button on the extension and a dialog box will open up asking you for your client's name, which is either your client's full name or the prefix that you use, and then asking you to browse for the folder you would like to export your logo packages to.
I've got Leaf for my client name and I'm exporting to a folder on my desktop. So now I will click create logo package and as the package starts exporting, you will see all of the files and folders getting populated on the fly.
This process can take a little bit of time, but once it's completed, you're ready to move on to the next step.
Now that the print logos are done exporting, we can go back to the panel and make our Web logos, click the Make Web Logos button and watch the web versions of your logos be generated.
There are less variations for the Web versions because we're not dealing with Pantone colors which are only for printing. I'm going to once again delete the redundant versions of my logos and now I'm ready to export the Web files as well. So I will click export web logos on the panel and all of the settings that I put into this window before are still there and they should still work.
So I will just click create logo package.
Now your web export is complete and you have both a digital and a print folder inside of every one of your logo variations and that's it.
You've used Logo Package Express to export a complete logo package in just a few minutes.